The Timeless Allure of Classic Apple Crisp
As the crisp autumn air rolls in and leaves begin their vibrant transformation, there's one dessert that consistently captures the essence of fall: the humble, yet utterly divine, apple crisp. Imagine walking through a local apple orchard, the scent of ripe fruit heavy in the air, perhaps a light drizzle and cool temperatures setting the perfect cozy mood. Returning home with a bounty of freshly picked apples, your mind instinctively turns to transforming them into a warm, comforting treat.
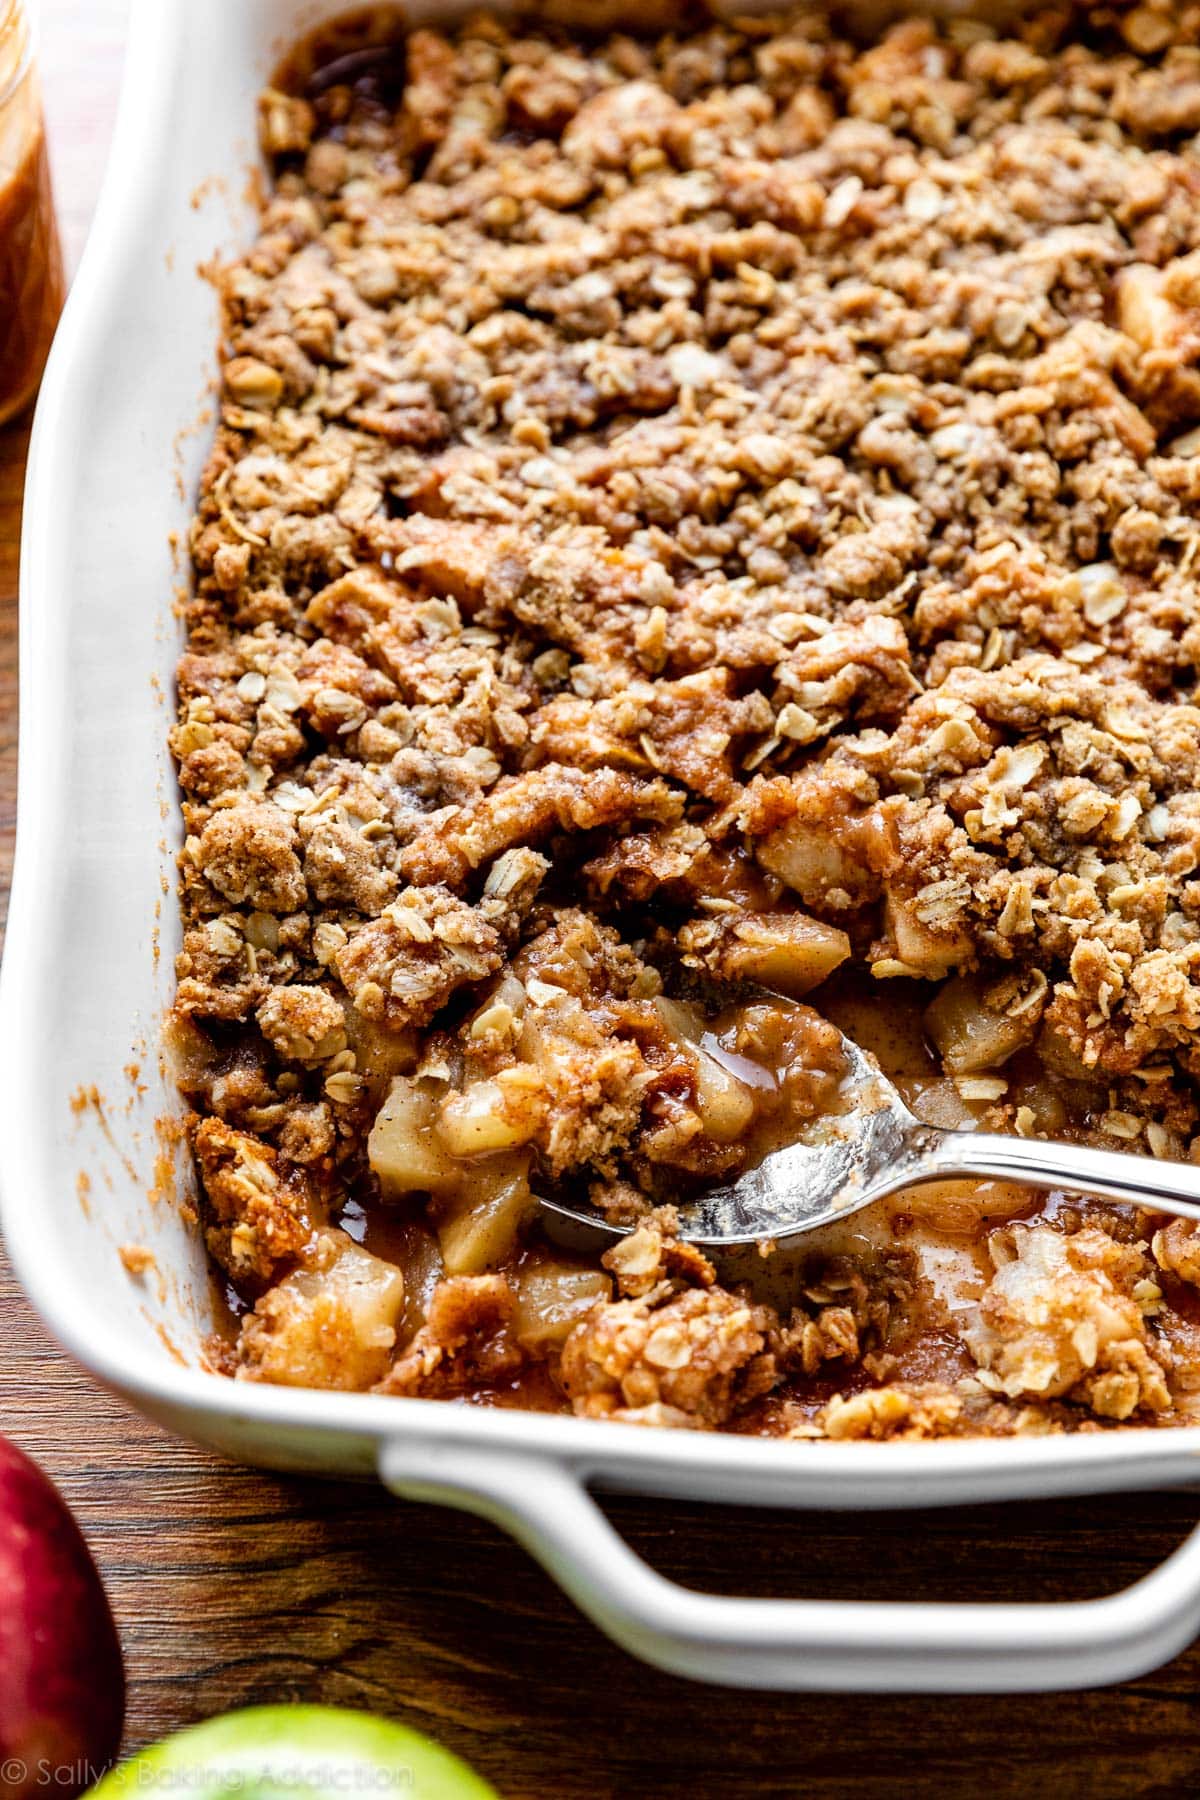
While myriad apple recipes exist, the classic apple crisp holds a special place in the hearts of many, including ours. It’s a dessert that perfectly showcases apples at their very best – tender, sweet, and lightly spiced – all crowned with an irresistible buttery cinnamon oat topping. Paired with a generous scoop of melting vanilla ice cream, it transcends a simple dessert to become an experience, a true taste of the season. What makes it even more appealing is its surprising ease. Forget the fuss and precision often associated with traditional apple pie; The Best Apple Crisp Recipe: Easy Fall Dessert Perfection delivers big flavor for very little work, making it the ultimate comfort food classic for any fall gathering or a quiet evening in.
Crafting Your Perfect Apple Crisp: Ingredients & Technique
The magic of a classic apple crisp lies in its simplicity and the synergy of its two main components: the luscious apple filling and the crunchy, golden oat topping. To truly excel, selecting the right apples and mastering the topping technique are key.
Choosing Your Apples: The Foundation of Flavor and Texture
The type of apple you choose significantly impacts the final texture and flavor of your crisp. For the ideal balance, we recommend a combination of sweet and tart varieties, and importantly, those that hold their shape well during baking.
- Honeycrisp: A perennial favorite, Honeycrisp apples offer a delightful sweet-tart profile and a sturdy composition, ensuring they don't turn to mush in the oven.
- Granny Smith: For those who love a bit more tang, Granny Smith apples are excellent. Their crisp texture and tartness provide a beautiful counterpoint to the sweet topping and keep the filling from becoming overly cloying. They are also known for maintaining their shape perfectly.
- Fuji: Another sweet and crisp option that bakes beautifully.
A mix of 8 medium apples, peeled, cored, and chopped into uniform chunks, is typically ideal. Beyond the apples, the filling is sweetened and flavored with brown sugar, thickened slightly with all-purpose flour, and infused with the warm spices of cinnamon and nutmeg. A touch of vanilla extract deepens the flavor profile, and a pinch of salt balances the sweetness, enhancing every bite. For a more comprehensive guide to selecting the best apples, be sure to read Best Apples for Apple Crisp: A Guide to Perfect Texture.
The Irresistible Oat Topping: A Symphony of Texture
The oat topping is where much of the "crisp" in apple crisp comes from. It’s a masterful blend of rich, sweet, and crumbly textures. Key ingredients include:
- Brown Sugar: Provides deep caramel notes and a lovely golden color.
- All-Purpose Flour: Forms the base of the crumble, binding the ingredients.
- Whole Oats: Essential for that signature chewy yet crispy texture. The goal is for some oats to get deliciously crisp while others remain soft and chewy.
- Very Cold Butter: This is a critical ingredient. Cut into small cubes and incorporated quickly, cold butter creates pockets of steam during baking, resulting in a light, flaky, and exceptionally crisp topping. Avoid overmixing; a shaggy, crumbly texture is what you're after.
- Cinnamon and Salt: Enhance the warmth and balance the sweetness.
The simple act of combining these ingredients, often using your fingertips or a pastry blender, means that if you can chop apples and mix ingredients, you can confidently make this impressive dessert.
Make-Ahead Magic: Preparing Apple Crisp in Advance
One of the many virtues of apple crisp, particularly for the busy fall season or when entertaining, is its make-ahead potential. This flexibility means you can enjoy a freshly baked dessert with minimal last-minute fuss.
Refrigerating Your Apple Crisp
Whether you're planning a dinner party or just want to get a head start on tomorrow's treat, apple crisp can be prepared and stored in the refrigerator.
- Baked Crisp: If you've already baked your apple crisp, allow it to cool completely to room temperature. This is crucial to prevent condensation, which can lead to a soggy topping. Once cool, transfer any leftovers to an airtight container or cover the baking dish tightly with plastic wrap and then a layer of aluminum foil. Stored this way, baked apple crisp will remain delicious in the refrigerator for about three days. When ready to serve, you can reheat individual portions in the microwave or warm the entire dish in a preheated oven (around 325°F/160°C) until heated through and the topping re-crisps slightly.
- Unbaked Crisp: For ultimate freshness, you can assemble the entire apple crisp (apples and topping) in your baking dish, cover it tightly with plastic wrap and foil, and refrigerate it for 1-2 days before baking. This is an excellent strategy for holiday meals or special occasions. When it's baking time, simply remove it from the fridge and bake as directed, potentially adding an extra 10-15 minutes to the baking time to account for the chill. A key tip: place the unbaked crisp on a baking sheet before transferring to the oven, just in case any juices bubble over.
The make-ahead option is a game-changer, allowing you to focus on other aspects of your meal while knowing a delightful, homemade dessert is ready to go.
Freezing for Future Fall Flavors
Beyond simple refrigeration, apple crisp is a fantastic candidate for freezing, extending its enjoyment for months. This is perfect for those times when you've picked a "peck" of apples and want to preserve the taste of fall well beyond the season, or simply to have a comforting dessert on hand for unexpected guests or cravings.
Freezing Baked Apple Crisp
Freezing apple crisp *after* baking is generally the preferred method, as it helps maintain the integrity of the topping.
- Bake in a Freezer-Safe Pan: If you intend to freeze your crisp, consider baking it in a foil pan from the start. This makes for easy transfer to the freezer and eliminates the need to tie up your good ceramic or glass bakeware.
- Cool Completely: Just like with refrigeration, allow the baked crisp to cool entirely to room temperature.
- Wrap Tightly: This step is critical to prevent freezer burn. Wrap the entire pan (or individual portions) first in a layer of plastic storage wrap, ensuring it's sealed tightly against the crisp. Follow this with a layer of heavy-duty aluminum foil. You can even add a third layer of foil for extra protection if you plan to store it for an extended period.
- Label and Freeze: Clearly label your crisp with the date and contents. It can be frozen for up to three months.
Reheating Frozen Baked Crisp: For best results, thaw the frozen crisp in the refrigerator overnight. Once thawed, you can reheat it in an oven preheated to 350°F (175°C) for 20-30 minutes, or until warmed through and the topping is crisp. If reheating directly from frozen, cover loosely with foil and bake at 325°F (160°C) for 45-60 minutes, uncovering for the last 15-20 minutes to allow the topping to crisp up.
Freezing Unbaked Apple Crisp (with a caveat)
While possible, freezing an unbaked apple crisp can sometimes lead to a slightly soggier topping upon baking, as moisture from the apples may affect the dry ingredients during thawing. If you choose this route:
- Assemble the apple filling in your freezer-safe pan.
- Prepare the topping but keep it separate, stored in an airtight bag or container in the freezer.
- Cover the apple base tightly with plastic wrap and foil. Label and freeze for up to 2-3 months.
- When ready to bake, thaw the apple filling in the refrigerator overnight. Sprinkle the frozen topping over the thawed filling just before baking. This method helps preserve the topping's texture.
For ultimate convenience, consider freezing individual portions of baked apple crisp. Simply scoop portions into freezer-safe containers or wrap them individually before placing them in a larger freezer bag. This allows you to pull out just enough for a single serving whenever a craving strikes!
Conclusion
The classic apple crisp is more than just a dessert; it's a celebration of fall, a testament to simple ingredients creating extraordinary flavor, and a comforting embrace in every bite. From the sweet-tart symphony of warm cinnamon apples to the satisfying crunch of its oat topping, it truly delivers big flavor for very little effort. With the invaluable tips for making it ahead and freezing it, you can ensure this beloved fall treat is always within reach. So, gather your apples, embrace the season, and prepare to delight your senses with this timeless, easy-to-prepare, and freezer-friendly masterpiece.
